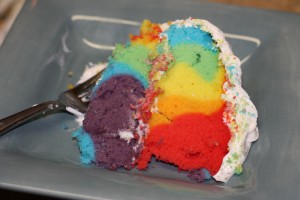
Every Friday, I share my crafts and recipes in a collection hosted by Happy Hour Projects. The purpose is to show off what you’ve been working on and gain inspiration for new projects. About a week ago, as I was adding my Valentine’s Ribbon Wreath from Hell, this recipe for Rainbow Cake caught my eye. It looked beautiful! And delicious! I had to try it. But it was a diet recipe, and as began to read the reviews on other blogs, some indicated that the diet recipe had changed the taste of the cake…and not for the better. I couldn’t take that chance. So I decided to “fix it”. And as if making the recipe without the diet adjustments wasn’t enough – Remember that marshmallow fluff buttercream I used in my Whoopie Pies? I decide that would be the perfect topper for this vivid cake.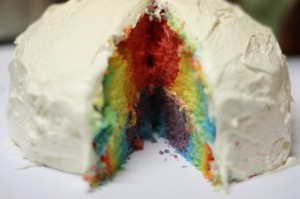
For the cake you will need:
2 boxes of white cake mix (and all the requirements on the box, times two since you are making two boxes)
Food Color Gels
parchment paper
For the frosting you will need:
2 cups marshmallow fluff
2 cups confectioners sugar
1 tsp vanilla
1 cup butter, softened
Step 1 – Pre-heat the oven as indicated by your cake mix. Grease the sides of a 8″ or 9″ round pan, and line the bottom with parchment paper.
Step 2 – Make the cake mix as indicated on the box.
Step 3 – Once the batter is mixed, separate into 6 separate bowls, about 1 1/2 cup of batter per bowl. Add food gel to each of the bowls to get your desired colors (red, orange, yellow, green, blue, purple). Unlike food coloring, you don’t need to use a ton of the food gels to color the batter.
Step 4 – Using a measuring cup, add the batter to each of the pans. I measured 3/4 cup of each of the colors putting it one on top of the other. In one pan I placed the colors in a red, orange, yellow, green, blue, purple order, and then I did the opposite in the other pan (purple, blue, green, yellow, orange, red; placing one color on top of the other in concentric circles).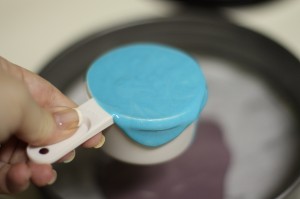
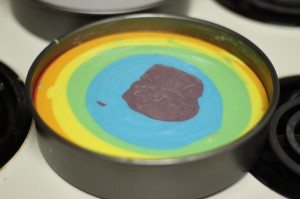
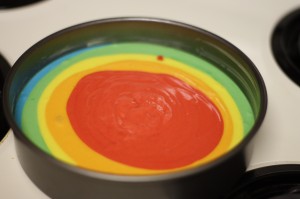
Step 5 – Place in the oven and bake for 30 minutes. Make sure the knife comes out clean. One of my cakes needed an additional 4 minutes, not sure why, just be aware that it’s possible for one cake to need more time.
Step 6 – Allow to cool for 10 minutes, then remove from pans and continue to cool on wire racks. Don’t forget to remove the parchment paper from the bottom of the cake. When my cakes were completely cool, I trimmed off the edges since they looked a little crispy and I wanted a very soft cake.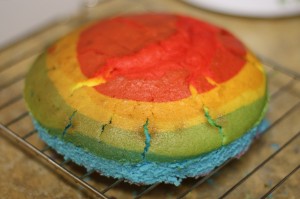
Step 7 – Mix the marshmallow fluff, butter, confectioner’s sugar, and vanilla for 3 minutes or until smooth.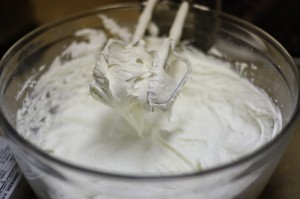
Step 8 – Using a knife or spatula, frost the cake. I found the best way to do this was to place globs of frosting on the cake and then spread from there. Make sure to keep your knife clean or little pieces of the cake will end up in your frosting and it won’t be as pretty – this is the downside of trimming off the edges. It got rid of the crunch part, but I had to be super careful when frosting the cake or little pieces of the colored cake would be everywhere. You might be able to get away with cutting the buttercream recipe in half, but I wanted to make sure that I had more than enough to cover the cake. Plus, I like to frost cakes pretty liberally. So much for being a diet cake!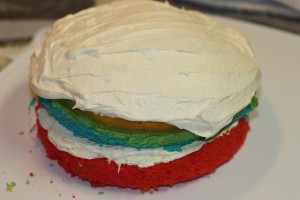
The post Weekend Baking: Rainbow Cake with Marshmallow Buttercream Frosting! appeared first on Diary of a Working Mom.
